
The Project:
This is an extremely tall, woolen hat, similar in profile to several examples from the period of 1570s Germany, which is part of my full suit from the same period (well, of course). Unlike quite a few later examples, and my last tall hat, the covering is not a gathered circle, but fits smoothly over the base. |
| Männertracht aus Braunschweig (23v) |
The Sources:
I don't actually have that many sources for this project, since I didn't base the construction on anyone else's work, but came up with it on my own. The primary source for the appearance of the hat is the above plate, which is labeled as being of a "Portrait of a Man from Brunswick" from Kostüme der Männer und Frauen in Augsburg und Nürnberg, Deutschland, Europa, Orient und Afrika - BSB Cod.icon. 341, Männertracht aus Braunschweig (23v). I will show a couple of other random tall hats as well. Patterns of Fashion 3 by Janet Arnold also plays a minor part. |
| The Lieutenant. Nikolaus Solis |
Who:
Really, this is not a lower class hat. I suppose they could be worn by the poor--same as a Victorian beggar might have a (rather battered) top hat as a hand-me-down. However, I will grant that the records are obviously incomplete, since portraits are almost always of upper or high middle class, and any surviving ones are more likely to have belonged to the rich folks--on the other hand, there are examples in a series of woodcuts of Soldiers. As a separation from my rendition and the period, the hats would have been made by a specialist...a hatter; my rendition could have been made by a tailor, what with the padstitched base.Garment Description:
As a (general) rule, they are a tall hat with a rounded top--usually more so than I managed since the wool is more flexible--and a relatively narrow brim; sometimes the brim was almost nonexistent. When I say tall, I mean extremely so--roughly the same height as the head, or ever taller. Oddly, most examples are black. |
| Unknown Elizabethan Gentleman, 1577. |
My Goals:
Overall, my motivation was fairly simple...I needed a tall hat to top off the outfit. The correct appearance and silhouette was the primary goal, rather than attempting a moulded felt hat, which--while I know how--I don't really have the materials or tools for. And felting in an Oerthan winter sucks if you don't have an indoor space you can get messy (which I don't). So, my goals were to make a hat which looks like a one piece felted hat of the correct shape (from a fairly close distance, which means I had to hide my seams), yet not attempting completely period construction. I also wanted to see if I /could/ shape that round top with only padstitching--the answer is yes, and I am curious how far I can push it...like, say, shaping a fedora type hat purely with padstitching. But that really is off topic. |
| Pages 93/94 of Patterns of Fashion 3 |
Materials:
Ugh....do I have to discuss this section? Well, the main material /is/ black, heavily fulled wool, that is good at least. Even if it isn't actual felt. ....that's about all. The hat should probably be made of a single piece of tightly felted wool--this is stiff enough to support itself, a velvet covering (if applicable) and silk lining.Ideally, sewing the hat this way, it should have been linen canvas/wool felt, or just heavy wool felt for the base, the wool broadcloth for the shell was almost perfect, and a silk taffeta for the lining.
Mine, on the other hand has a base of (cotton) canvas and thin felt, a shell of the black wool, and is lined with cotton flannel, since I found that I didn't have enough of the red linen left over from the doublet and jerkin to do the lining. The differences in materials--especially those of the base--were primarily due to cost or availability, and my lack of desire to do a felted hat.
The threads, however are all correct--all of the sewing was done with linen threads; either a heavy white linen for the padstitching, or a medium black linen for the regular stitching.
Pattern:
Overall, the pattern is quite simple--just a upper curved to allow the top to be smaller, the oval brim, and the circular top. Of course, each piece had to be cut three times for the base, shell, and lining (or five, if you count each layer in the base). That is it, though--only difference between the pieces is that the top of the base had a dart cut out of it to turn it into a cone, rather than flat.Mostly, I almost draped the pattern--I did measure what I wanted the finished circumference around my head and at the top to be, then added a good inch and a half to each side...because when you pad stitch something, it shrinks. After the pad stitching, I trimmed it to size. The brim was patterned from the crown; I did decide on the width based on the proportions of the brim width to height of the inspiration hat (The Brunswick man image), and calculated from that.
 |
| Kostüme der Männer und Frauen in Augsburg und Nürnberg, Deutschland, Europa, Orient und Afrika - BSB Cod.icon. 341 |
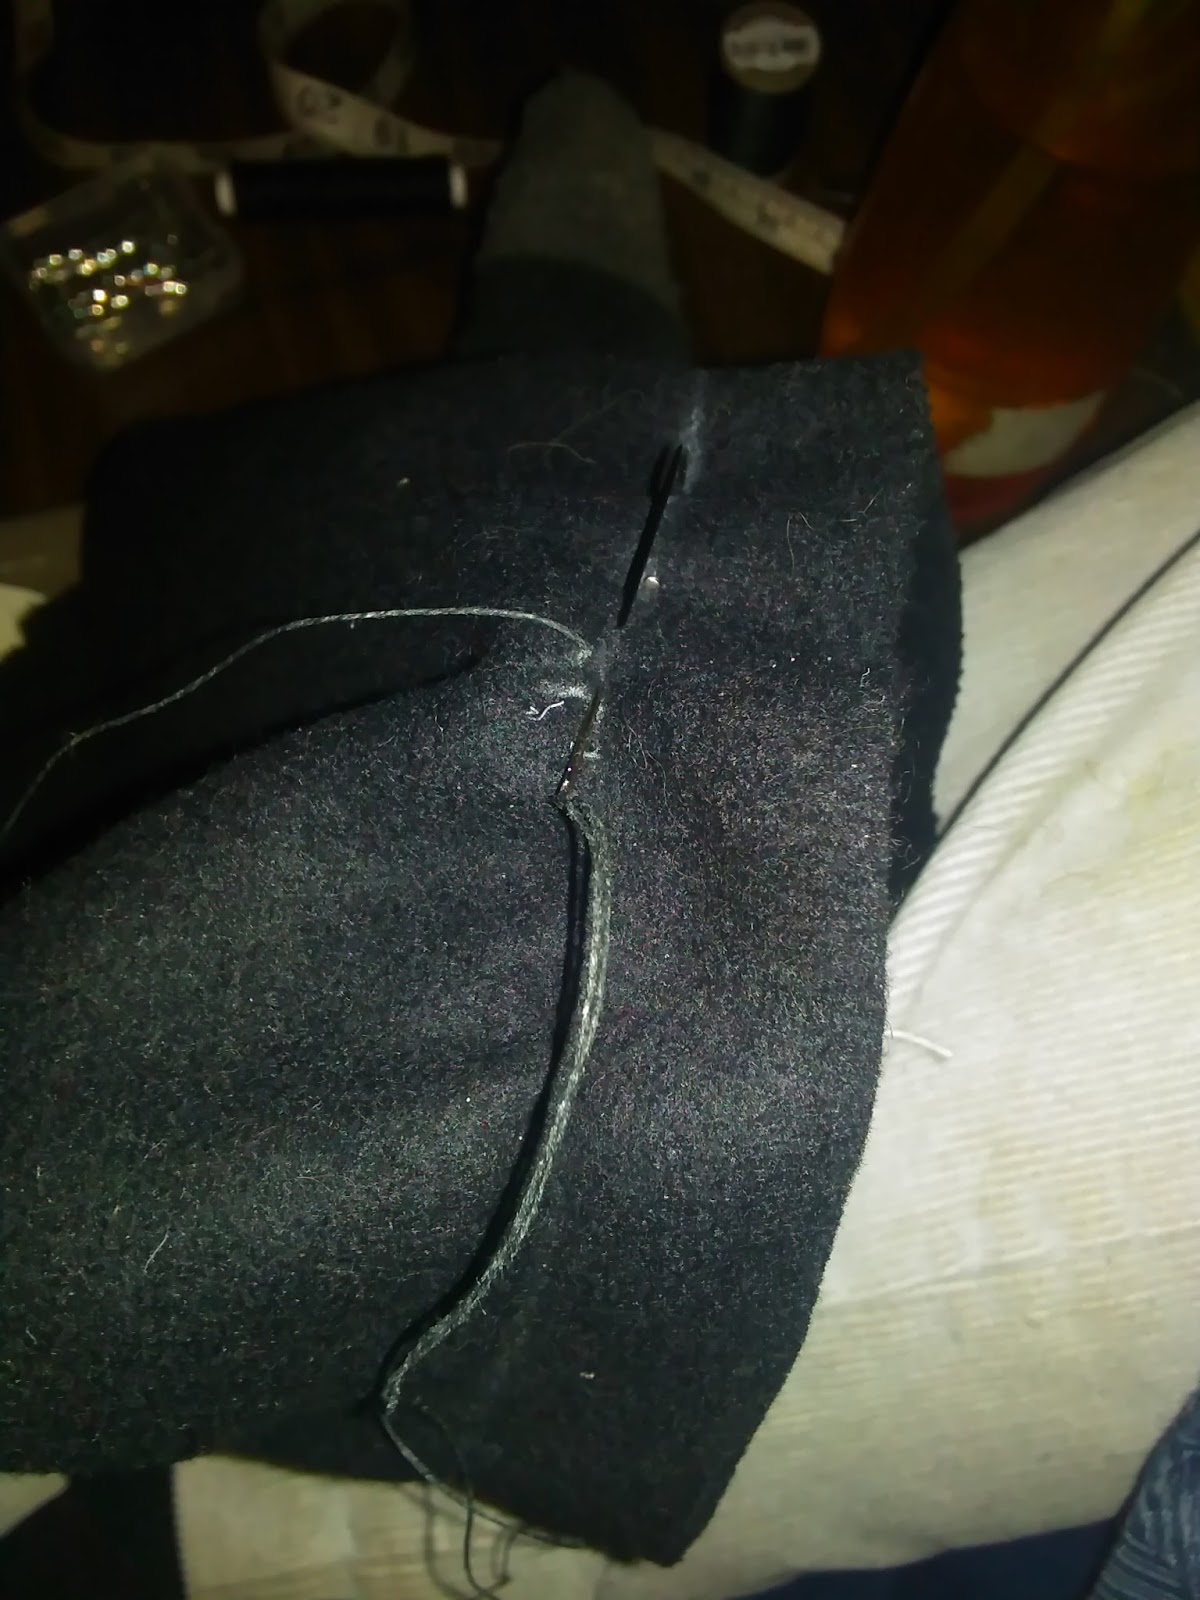
Seams:
Well, I'm going to go in order. The crown was extensively sewn with pad stitches, a stitch which is used to shape and stiffen interlinings, and is found in several later period doublets (Figures 106, 140, 176 of PoF). Because of the thickness of the layers of the crown, the seams were butted and sewn with an overcast stitch to reduce bulk.The verticals and crown of the shell was sewn together with a fine backstitch, as were the corresponding seams of the lining. The bottom of the shell was attached to the base with a kind of reverse stab-stitch, over the excess fabric of the brim--I figured it as being the best way to keep it attached and taut, while keeping the stitches low profile. The brim was curved turned over to cover the edge, and sewn down to the underside of the brim with an overcast stitch--this was chosen in order to thicken the edge similarly to the image, and honestly--for ease; I didn't feel like bias cutting and piecing a bunch scraps of the wool for edge binding.
The lining of the brim was sewn down with an overcast stitch on both the inside and outside, covering the crown lining and the wool from the shell.
Construction:


Essentially, it works by brushing up a nap on the wool seam (left), using a fine silk thread to catch the fibers and pull them together on the right side, brushing again, then rubbing to felt the fibers. At that point, it can be either brushed again to smooth out the nap, or shaved if a smooth finish is desired. For more information on rantering, and the variations of stotting, and fine-drawing, read this interesting article on late 18th century tailoring stitches.


Then much more brushing and teasing of the fabric was done to raise the nap and blend the seams. To do all the brushing, I used a wire dog brush instead of teasles.


 |
| Image by Twobears Photography |
Conclusions (and what I learned):What Would I Do differently:
This was a fun project, actually...but I didn't learn all that much. There were some details about rantering seams (which I had done before), likewise padstitching. Learning the best way to support the edges of the foundation was helpful (wide buttonhole stitches). The number one thing was I got closer to it not being too tight--it's still rather snug, but not to the point of giving me headaches.Within this construction style, I would primarily cut the cone of the very top to be deeper, and support all the edges with the buttonhole stitches as mentioned. I would like to do it properly one of these days, as a fully blocked hat, and either way it's made I would have much preferred to line it with a silk.
 |
| Image by Trisha Geiglein-Bryant |
How Historically accurate is it:
Sadly, not very--this is more the result if the only person available to make you a hat was a tailor; rather than felt formed over a hat block, pad stitching is used to shape it. The techniques are plausibly period, however, and the materials are modern analogues (except the flannel lining…I didn’t have enough linen or silk). I am going to say around 55%.Time:
The hat is a nice, short project--only took 14 hours, 30 minutes over the course of a week.HSM Challenge Info:
What the item is: A Tall hat for the 1570s Germans that was this year's major project.The Challenge: Firsts and Lasts. This is the last item truly required for the suit; while a shaube would be nice, it will be made to be fairly generic for the period so I can wear it with my Sture Suit as well as anything else I may make from around that time.
Fabric/Materials: Cotton canvas, felt, wool broadcloth, flannel (lining). The band is linen.
Pattern: My own.
Year: 1570s
Notions: A ton of linen thread, mostly. Eventually, I will find some ostrich feathers as well.
How historically accurate is it?: Not as much as I would like—this is more the result if the only person available to make you a hat was a tailor; rather than felt formed over a hat block, pad stitching is used to shape it. The techniques are plausibly period, however, and the materials are modern analogues (except the flannel lining…I didn’t have enough linen or silk). Going to say around 55%.
Hours to complete: 14.5 hours.
First worn: Not yet! Sunday the 22nd.
Total cost: I don’t really know… figure half a yard of most of the fabrics, 1/4th of the wool….18-20 US?
Nope...no bibliography. The only source other than images--which have their sources attached--is Patterns of Fashion.
©
John Frey, 2017. The Author of this work retains full copyright for this
material. Permission is granted to make and distribute verbatim copies of this
document for non-commercial private research or educational purposes provided
the copyright notice and this permission notice are preserved on all copies.
Excellent work and wonderful silhouette. As always I'm impressed by your workmanship and your communications skills. Thank you for continuing to educate and inspire your followers.
ReplyDeleteThank you. I have learned quite a bit about writing over the last couple of years, and intend to continue improving! And teaching.
Delete