The garment itself is somewhat complicated, and I am sure has been the cause of many grey hairs in re-enactors--partially because there are no patterns or instructions for them online. Well...there is one, but it is not remotely period as it seems to be based on modern pajama pants). Reconstructing History also sells a pattern, which I have no experience with, and no desire to--I don't need help going mad. So, when I went to draft out a new pluderhose foundation pattern, and found that my old instructions had issues, I realized I would have to mostly rewrite it. As before, this pattern is based on the pairs worn by Nils and Erik Sture (mostly Nils, because I believe Erik's pair of foundation breeches got stretched with wear).
This tutorial series for the pluderhose consists of four parts; the base breeches/foundation shorts; panes and lining; codpiece; and assembly. In the example pairs, the foundation breeches were made of a fine leather, similar to chamois or a soft deerskin--previously I used a heavy cotton (cotton drill), this time I have deerskin splits to use (which should be attributed to my madness, because it will be a pain. Spend the extra money, and don't use splits if you decide on leather, since they are uneven in thickness). Depending on the particular style, the foundation breeches can be around knee length (and sewn to the legband at the bottom) as in Nils', or free at the bottom and a bit shorter as I believe Erik's was.
 |
| Foundation shorts of Nils Sture's pluderhose, 1568. Patterns of Fashion 3, by Janet Arnold |
And on to bulk of the tutorial. As a warning, there is a lot of measuring, in some sensitive areas (but less so than there was!), since the pattern themselves essentially have a buttcheek; there is a purpose to that, other than to make you look good--it removes any seams from where you sit, which is important in close fitting pants. Remember that the measurements should be taken over the appropriate undergarments (including the cup, if you plan to fight while wearing the pants). I also suggest tying a cord or twine around your natural waist, and where you want the cuff in order to keep track of those locations while measuring.
NOTE: This is my way of drafting and explaining it; I'm not saying it is the correct way, but it is based on extant examples and worked for me. My point is that your brain may process way differently (in which case contact me, and I'll see if I can elucidate), or different shapes may have issues. However, I hope that this gives you a starting place. IF you do use this tutorial, please, share your experiences in the comments below (way below). Prost! and happy drafting.
Measuring and measurements:
Ease should be to taste and can be added in by placing fingers under the measuring tape. At the waist, I measure in zero ease (other than what result in measuring over your shirt), two to three fingers at the hip, upper thigh is around four, and one finger at the lower thigh. After drafting and trying it on over a couple of different pairs, I can say that the most important part to have ease in is the upper thigh (and likely hips), so measure those loosely or over a pair of lightweight but loose pants. Only the circumferences will get ease, not the vertical measures. I also must stress the importance of bringing the rise as close to the fork of your legs as possible--if it is even slightly loose, there will be issues with movement; guys, it will probably feel odd--that is okay...these are more like tights than modern pants.. In addition, remember to add in your seam allowances when you cut.- Waist: Your natural waist, mind. (Mark down the half waist as well). No ease is needed, as part of the draft adds it in.
- Hips: Widest part of the hips. (Mark down the half hips as well)
- Inseam: Measure down to the desired cuff location from as high in the fork of the legs as possible--it is important you go /all/ the way up. Otherwise you lose mobility.
- Upper Thigh: Circumference of the highest part of the leg. It is critically important you go as high as feasibly possible for the same reason as the inseam.
- Lower Thigh: Circumference of the location of the cuff.
- Rise: Simply measure from the waist in the front, between the legs, and up to the waistband in the back.
- You need to note down both front and back rise. Mark about halfway to the inside of the thigh (where an inseam would be) and note the measurements to either side for your front and back rise. The back rise should be longer than the front.
- Backseam: At the center back of your thigh and just under the cheek, measure straight down to the cuff location. This should be essentially the same measure as your inseam, but both are needed (just in case).
- Inseam Offset: Measure from your inseam (as high up as possible) to the center of the back of your thigh where the backseam was measured--you should be wearing pants /with/ an inseam to take this measure. This is used to figure out the location of the rise.
- Vertical Butt. In line with that center seamline down the back thigh, measure vertically from the waistband to the bottom of the cheek, following any curves. This should be measured fairly loosely, to give ease for bending over.
- Codpiece: Measure over the widest point of the athletic cup if you are wearing one. Horizontally. This will be the width of the codpiece, which serves as a gusset and cannot be left out. I am including this measure here in case you want to skip to part III (link at the bottom) and draft the codpiece base in order to check the fit.
Drafting:
For clarity, this was done on paper, at 1/4th scale. When I give the instruction to square a line, I mean square from the selvage or fold of the cloth.


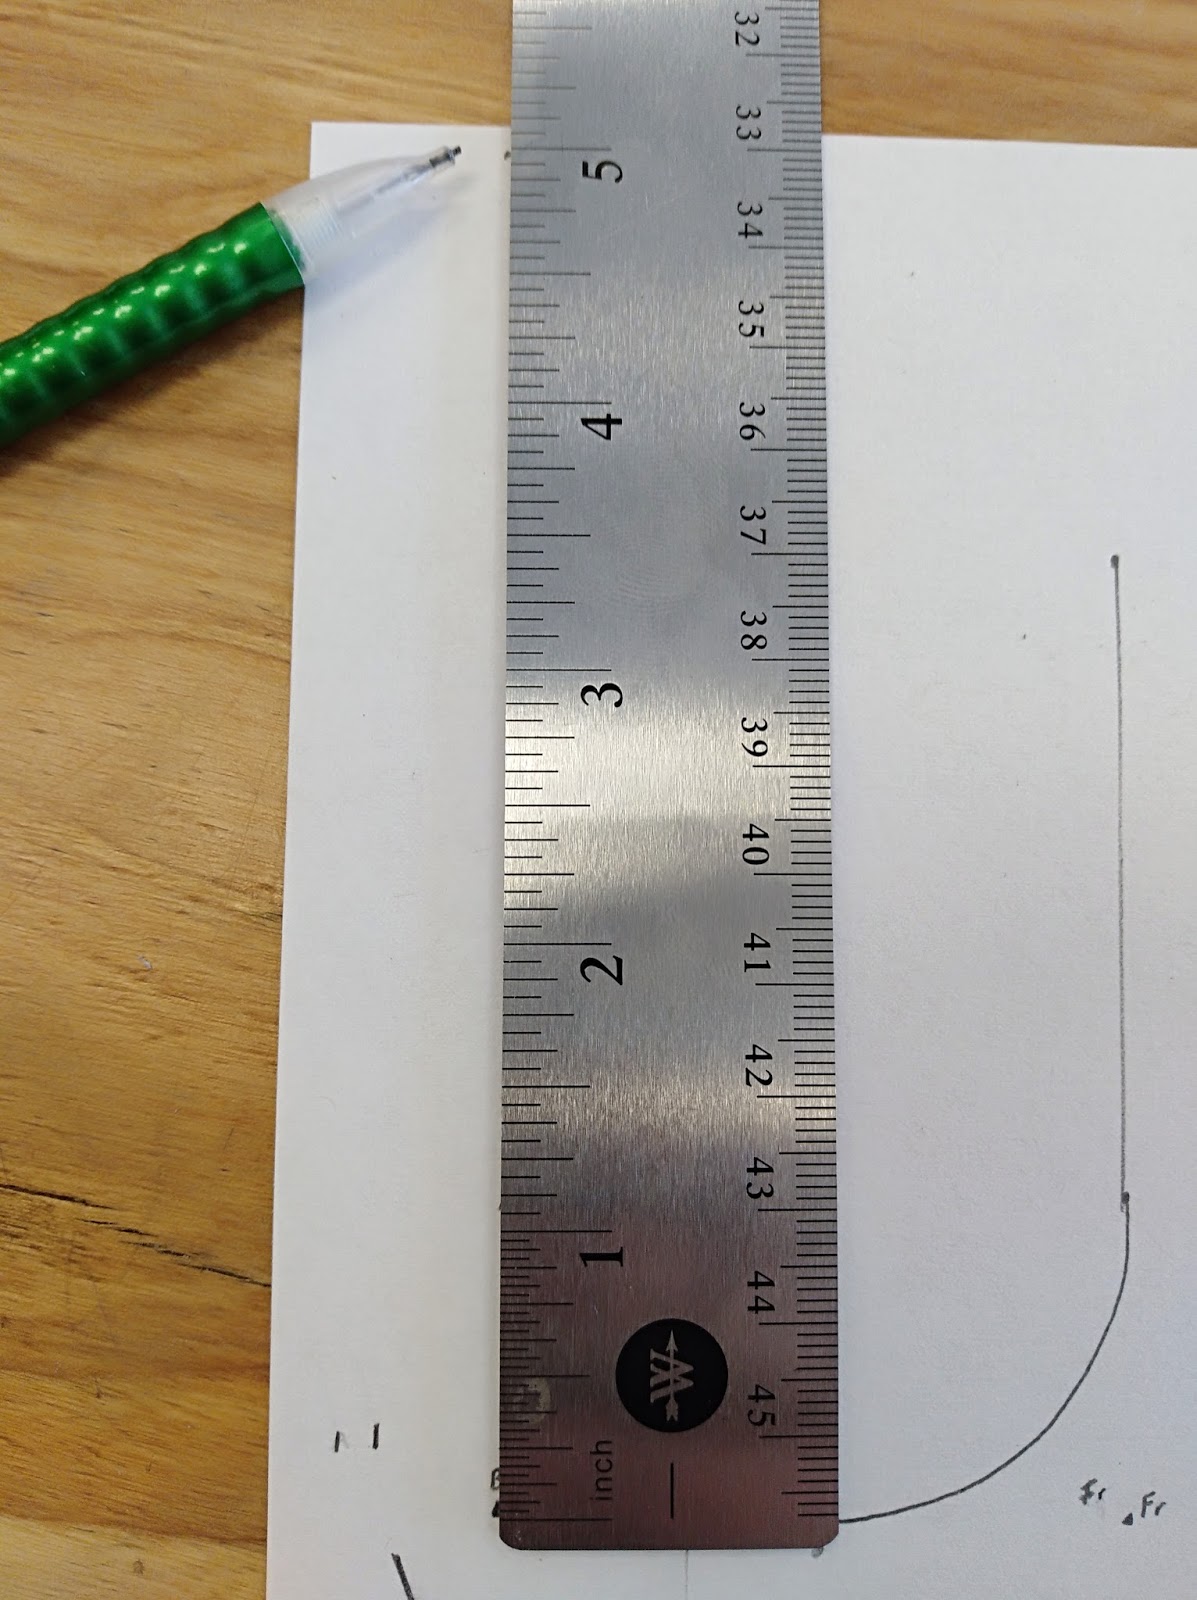
This proportion will be half the width (roughly) of your rise gap. From Point I, measure right by this proportion. Mark it as point Fr (Front Rise).


If desired, you can subtract part or all of the Back Waist line to taste; if you tend to not gain/lose weight rapidly in the waist, I recommend making the waistband length fairly close. There should be a little bit of ease, but not a lot, and take into account that the waistband of your pluderhose need to match up with the lacing band on your doublet/wams (which is why I like to make my hose before my doublet).


Onwards to PART II--the Panes
PART III--the Codpiece. You may wish go make the codpiece base gusset before finalizing the fit of the foundation.
And Part IV--Putting it together.
©
John Frey, 2018. The Author of this work retains full copyright for this
material. Permission is granted to make and distribute verbatim copies of this
document for non-commercial private research or educational purposes provided
the copyright notice and this permission notice are preserved on all copies.
No comments:
Post a Comment