
The Project:
This is a banyan of the coat type, rather than the loose robe variety, based on an example in the Los Angeles County Museum of Art (henceforth LACMA) from the 1760s. I've been wanting one of these for years, and when the LACMA unveiled their Undertaking the Making project, I decided it was time to make one with some material in my stash. I also wanted to learn more about construction of the period. This is also where I say I was...off somewhat. The dating on the garment I patterned from says 1750-60; so it's a few years earlier. |
| LACMA 1760s Banyan |
Find and Sources:
As mentioned above, my main source is that specific example in the LACMA, although I took some inspiration from a couple of other period banyans as well. The other primary source is a fantastic thesis--Eighteen Century Men's Civilian Waistcoats, by Frances Burroughs Loba--on the form and construction of 18th century waistcoats, and has a wealth of information on how they were made.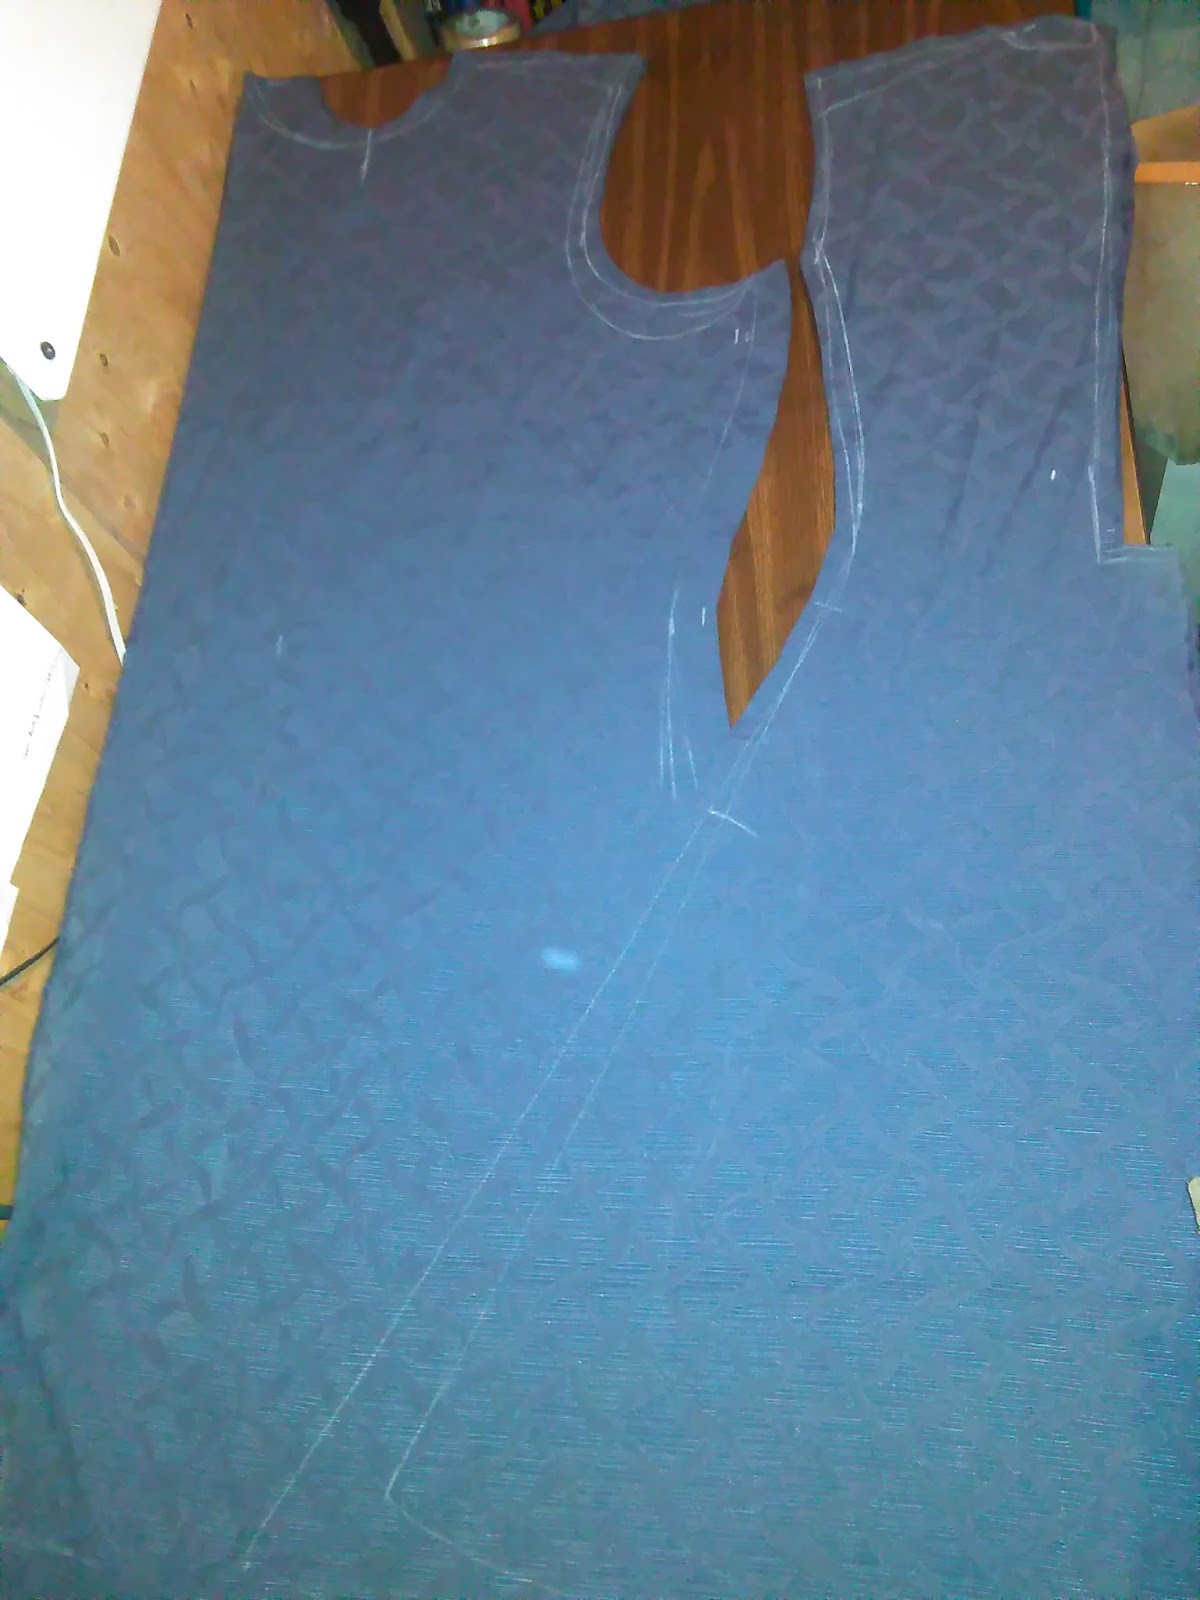 |
| Front and back cut out and laying on my table. |
Who:
As a rule, it would not have been made by the person wearing it (unless, perhaps, said person was an extremely successful tailor); instead, it would have been commissioned from a separately purchased bolt of fabric by a gentleman. Because it was an informal garment, made to do nothing in, you might guess that it wasn't exactly something which the lower classes would have--in all likelihood, you'd be correct.
My Goals:
Primarily, I wanted a new, nicer robe--my old one is decidedly ratty, and not the most period anyways (I did the best I could at the pattern at the time). When I dug the material up in my stash, after spending most of a year gathering various banyans on pinterest, I knew that it would end up being 18th century and fitted. Anyways, other than the primary goal of wanting a new, shiny, piece of clothing, I also wanted to see if I could draft (and write the tutorial) for making a mid-18th century banyan, and gain some understanding of 18th century clothing construction in a low-pressure garment.Given my materials, my goals did not include trying to make it as historically accurate as I could--I did take a few shortcuts.
Garment Description:
If you haven't figured it out by now, banyans as a category are loungewear, and not meant to be worn in public (although they could be for entertaining guests). As a general rule, they were made of some of the fancier fabrics--often silks or printed cottons from the far East; the banyan was also somewhat derived from Eastern garments, as well. This variation is double breasted, with a fitted (though loose) body, full skirts without the waist seam you see in later version, and cut on cuffs. So, not actually that far off from the current frock coat, albeit with narrower skirts, and a looser fit. |
| I love this example in the MET, which is fully quilted. And apparently was Chinese made. |
Materials:
Silk. Sadly, I cannot afford fancy silks, and probably wouldn't use them on a garment I want to wear regularly, anyways. Regardless, the original it is based on is silk damasse; there is no comment as to what the lining is. Mine is of a poly-cotton blend, gross-grain damask; interestingly, I recently found a portrait by Thomas Hudson which has a frock coat made of a vaguely similar fabric. |
| Sir Heny Oxenden, by Thomas Hudson. 1755. |
As said, I have no real idea of what the linings would have been--probably a light cotton or linen, occasionally with some padding or quilting. I ended up using cotton flannel--not the most period, perhaps (although nankeen, which was used to line waistcoat backs is similar), but I wanted the additional warmth. Inside is a partial interlining of cotton batting over the shoulders for warmth, and protection from the cat.
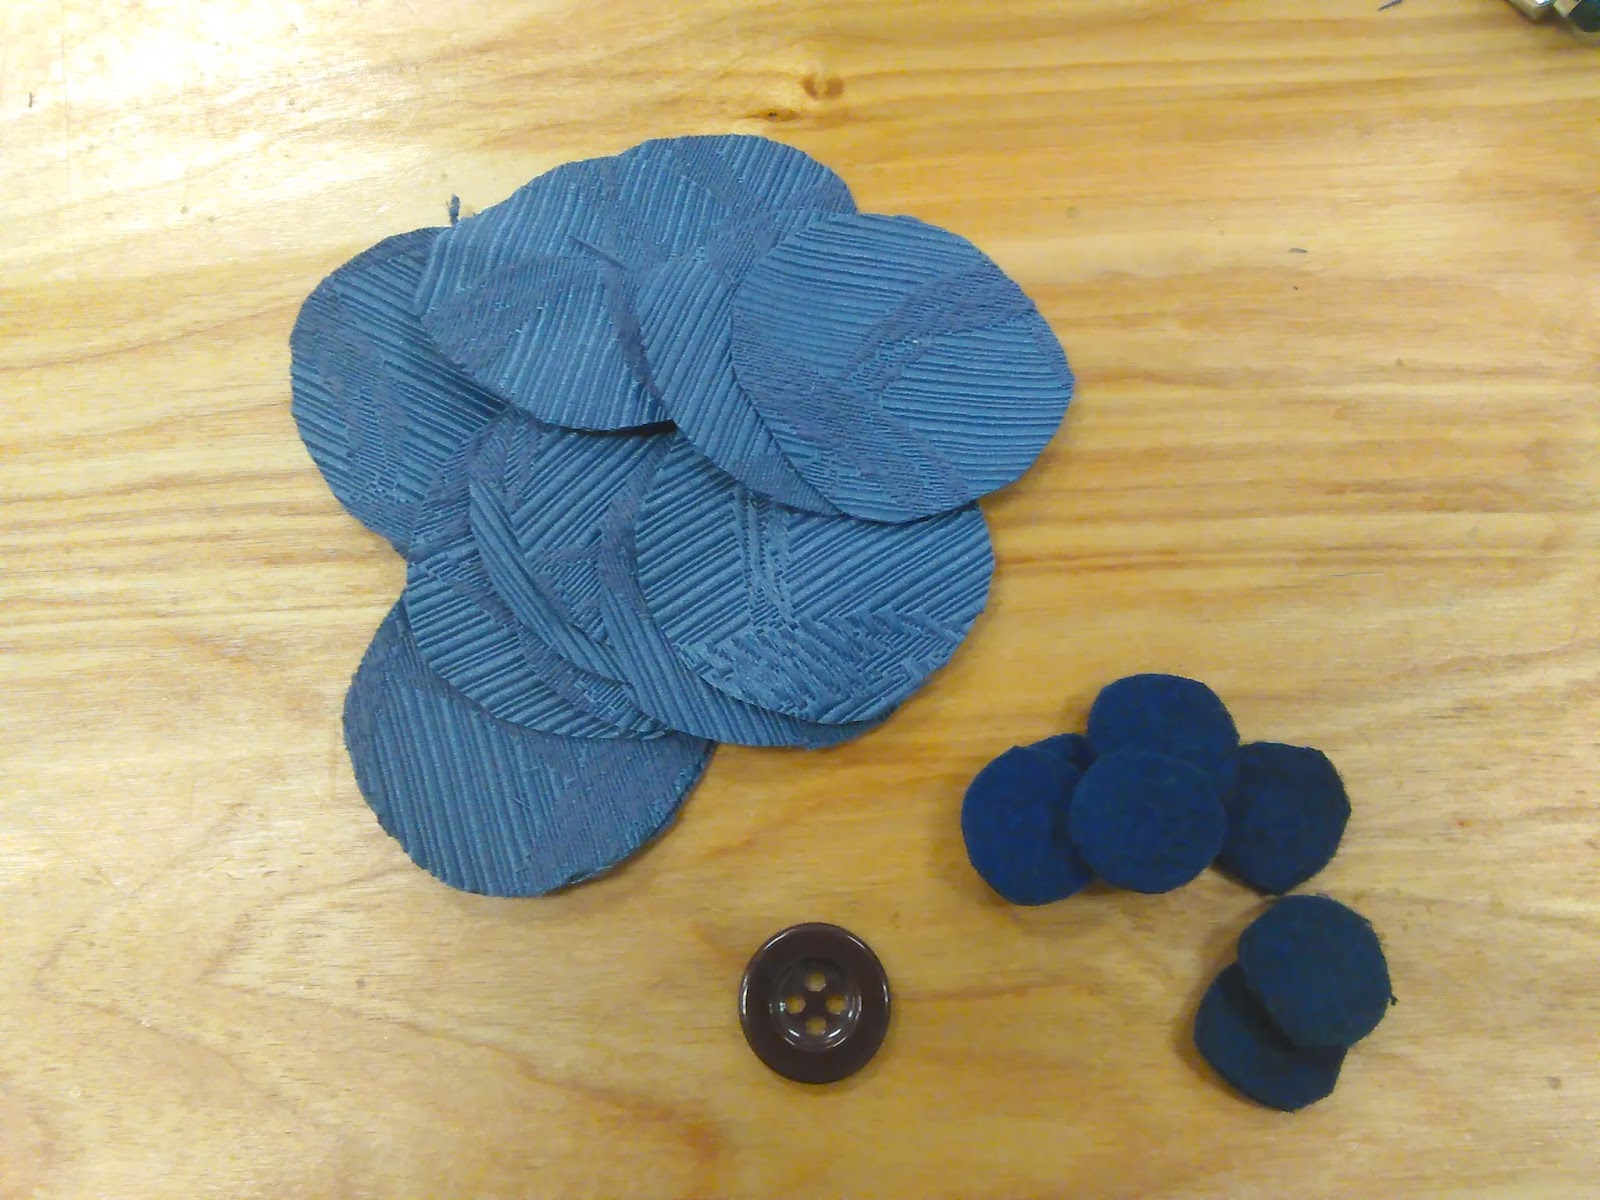
My threads, at least, are period (linen) even if the fabric would call for silk--a bit beyond my budget, I'm afraid. I did spurge for real silk buttonhole twist, though--the stuff was lovely to work with, if tricky.
Pattern:
Overall, the pattern is actually fairly simple--just a four piece body, and two piece sleeves; the cuffs and collar are basic. That's it, really--the only real complexity is that the side seams are a bit further towards the back than directly on the side. |
| Rough sketch of the pattern to figure out the drafting. |

 |
| My test sleeve...on the mostly finished main body. |
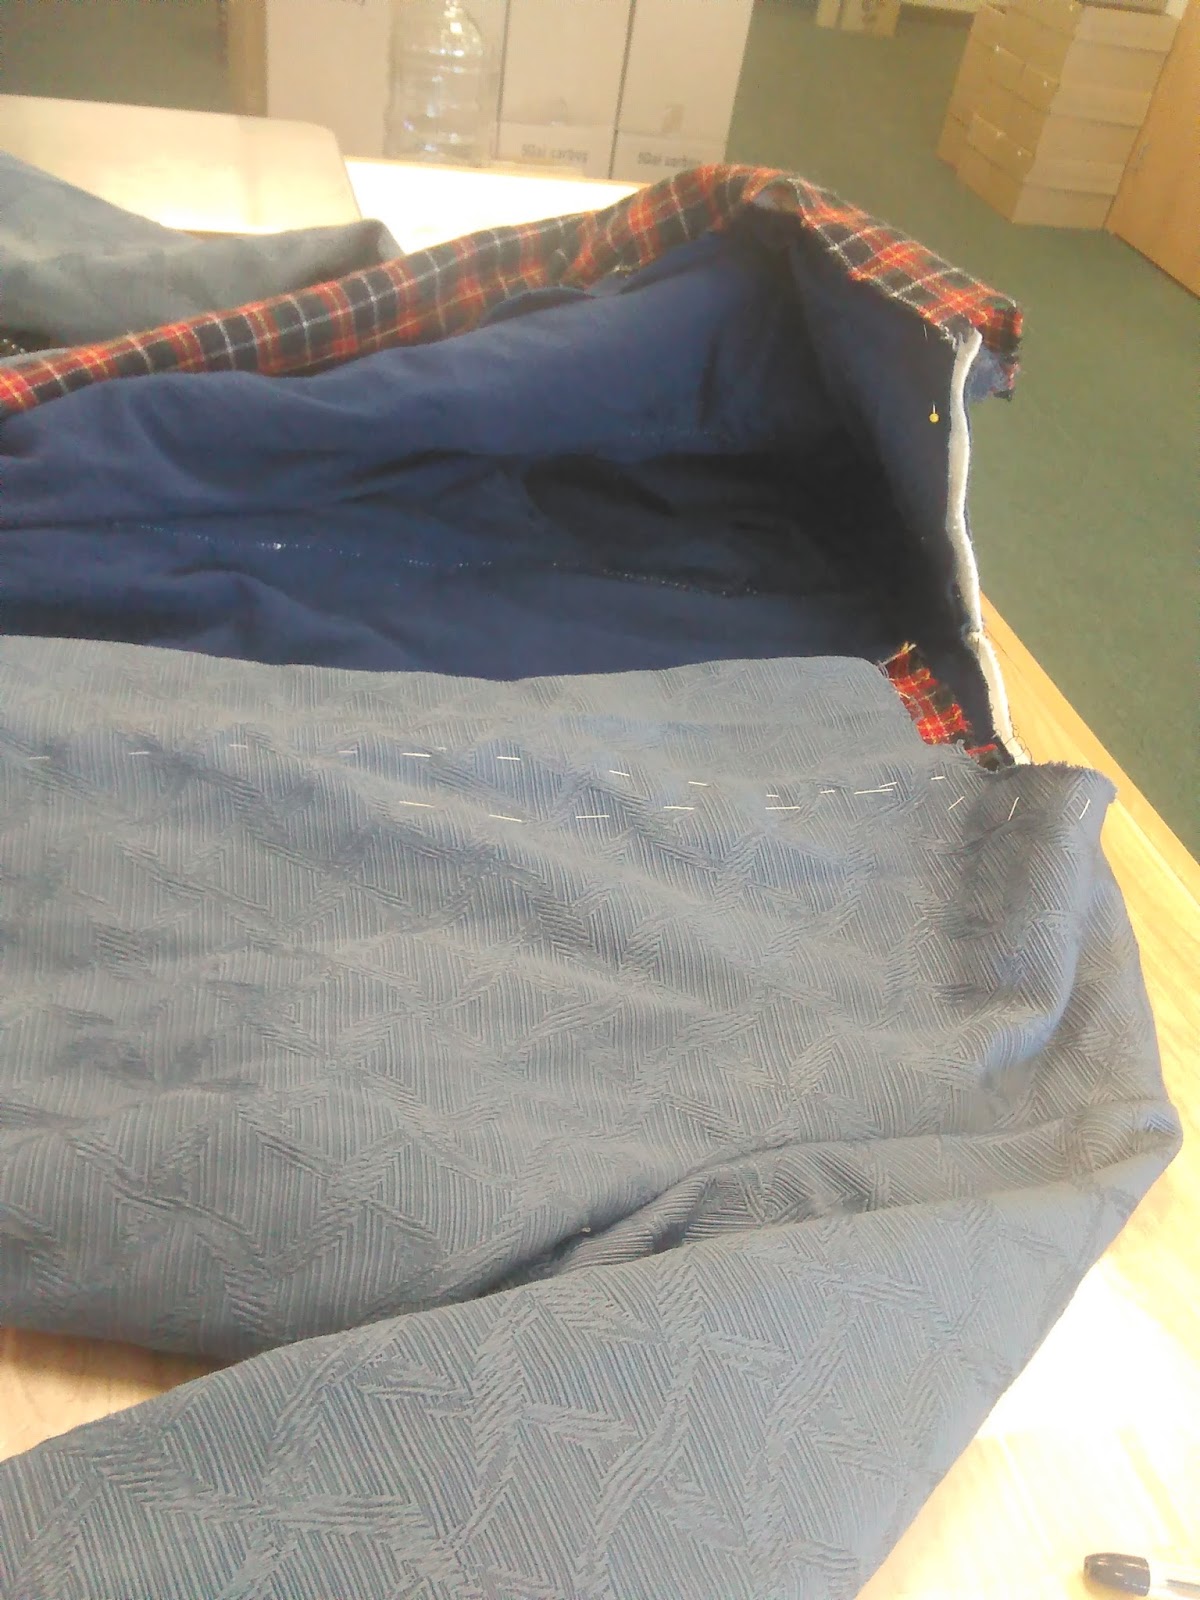
Seams!
Unlike women's dresses of the period, I don't believe menswear was sewn with that "Nameless 18th century seam", which consists of turning the raw edges of the shell and lining under, and sewing them as a unit with a stab stitch which alternates between overcasting one side of the lining or the other. (Terrible picture below) |
| Yes, I said I didn't use it in the banyan--I decided to play with it in making the matching cap. |
Construction:
I did do a full tutorial explaining every step of construction, to the best of my ability, and why... Still, I'll go over the highlights here.


In this case, I basted the strip of canvas in place to the facing, then sewed and turned the facing. The more correct way of doing it would be to sew the facing in place, then insert the interlinings between the shell and it's seam allowance, and tack it into place there. I chose not to in order to save time, and because--I suspect--I didn't jot down how I was supposed to do it when taking notes on the construction.


Conclusions (What I learned):
This was a major project for me, as my first 18th century piece--as such, I had to learn quite a bit. Starting with the pattern shapes for the garment, how things were constructed (even if I didn't quite follow it), and ending with learning quite a bit about doing the correct buttonholes for the period and working with the silk--so much consistency was required to get the stitches even. I also went into the proportions for buttonhole/button sizes, since the buttonholes were typically longer than needed. Learning how to draft the sleeves was fascinating, and I felt I made a breakthrough there (both in drafting them in general, and the specific 18th century).
What I would do Differently:
Unlike most of my projects, I actually would and probably will make another one in the future. I think the number one thing would be to interline it fully, with a loosely woven, fluffy wool fabric. I actually did have such a fabric on hand, but decided I didn't want to use it in this--I may make a Skjoldehamn tunic out of it eventually (maybe. Or just think about it). If I were buying fabric specifically for a banyan, I would also make sure there is enough to make it the correct (nearly ankle) length--I would probably also choose a cotton (since doing it in silk is only a dream).
How Historically Accurate is it?
Well, the pattern is correct, of course. The pattern for the fabric isn't too bad either, even though the material itself is a poly/cotton blend rather than silk. The construction isn't terrible, although there are some errors, and I did machine sew the long seams of the shell. The garment is also too short, since it only comes a bit past my knees.I would say about 60% or so.
Time:
Really, this was a comparatively quick project, only taking 27.5 hours.
The other posts in this series can be found below:
Part I: Drafting the Body
Part II: Drafting the Sleeves
Part III: Construction..putting it all together!
HSM Information:
The Challenge: # 11...RED!Even though the garment is blue, the wide facing is in a red plaid, as are the turn back of the cuffs. And I did ask if there was enough red to count before I posted.... I also intend to make the matching cap before too long.
Material: A grossgrain brocade in poly-cotton. Lining is cotton flannel, plaid facings are wool. The (partial because I didn't have enough) interlining is cotton batting.
Pattern: My own, developed from the LACMA one.
Year: 1760s
Notions: Silk twist thread (first time), other linen and cotton threads. Button bases.
How historically accurate is it? Oh...maybe 60%. The materials should obviously be silk or cotton, rather than dead dino. The pattern and design are quite accurate, as is much of the construction (leaving aside the machine sewing of the long seams) since I wanted to get an idea of how 18th century coats go together.. It's also a bit short, at only knee length, because I was working with a limited amount of stash fabric.
Hours to complete: 27.5 hours. I actually completed it several weeks ago, but needed to take photos and was trying to write my documentation.
First worn: In the evening as I settle in with a book after work!
Total cost: Completely unknown. Between 20-30 US.
Bibliography:
1.
Banyan | Chinese | The Met. The Metropolitan Museum of Art, i.e. The Met Museum Available at: http://www.metmuseum.org/art/collection/search/139667. (Accessed: 10th January 2017)
2.
Burroughs Loba, F. Eighteenth Century Men’s Civilian Waistcoats. (Virginia Commonwealth University, 1996).
4.
Handbound Costumes - Frock Coat cuff discussion. Available at: https://www.facebook.com/handboundcostumes/posts/935009883272331?comment_id=935072176599435&reply_comment_id=935098513263468¬if_t=feed_comment_reply¬if_id=1477331554775373. (Accessed: 12th December 2016)
5.
Man’s At-home Cap | LACMA Collections. Available at: http://collections.lacma.org/node/214537. (Accessed: 25th December 2016)
6.
Man’s At-Home Robe (Banyan) | LACMA Collections. Available at: http://collections.lacma.org/node/214490. (Accessed: 13th December 2016)
7.
mac Finnchad, B. Matsukaze Workshops: Buttonholes through the Periods. Matsukaze Workshops (2015). Available at: http://matsukazesewing.blogspot.com/2015/07/buttonholes-through-periods.html (Accessed: 12 December 2016)
8.
Museum of London | 1765 fawn coloured suit. Available at: http://collections.museumoflondon.org.uk/online/object/86012.html. (Accessed: 12th December 2016)
9.
CMS, K.-Q. Sir Henry Oxenden (1721–1804) | Art UK Art UK | Discover Artworks Sir Henry Oxenden (1721–1804). Available at: http://www.artuk.org/discover/artworks/sir-henry-oxenden-17211804-151147/search/actor:hudson-thomas-17011779/page/5. (Accessed: 25th December 2016)
10.
Suit | British | The Met. The Metropolitan Museum of Art, i.e. The Met Museum Available at: http://www.metmuseum.org/art/collection/search/159500. (Accessed: 12th December 2016)
11.
Waugh, N. The Cut of Men’s Clothes, 1600-1900. (Theatre Arts Books).
12.
Undertaking the Making: Costume & Textiles Pattern Project | LACMA. Available at: http://www.lacma.org/patternproject. (Accessed: 13th December 2016)
© John Frey, 2017. The Author of this work retains full copyright for this material. Permission is granted to make and distribute verbatim copies of this document for non-commercial private research or educational purposes provided the copyright notice and this permission notice are preserved on all copies.
This comment has been removed by a blog administrator.
ReplyDelete