 |
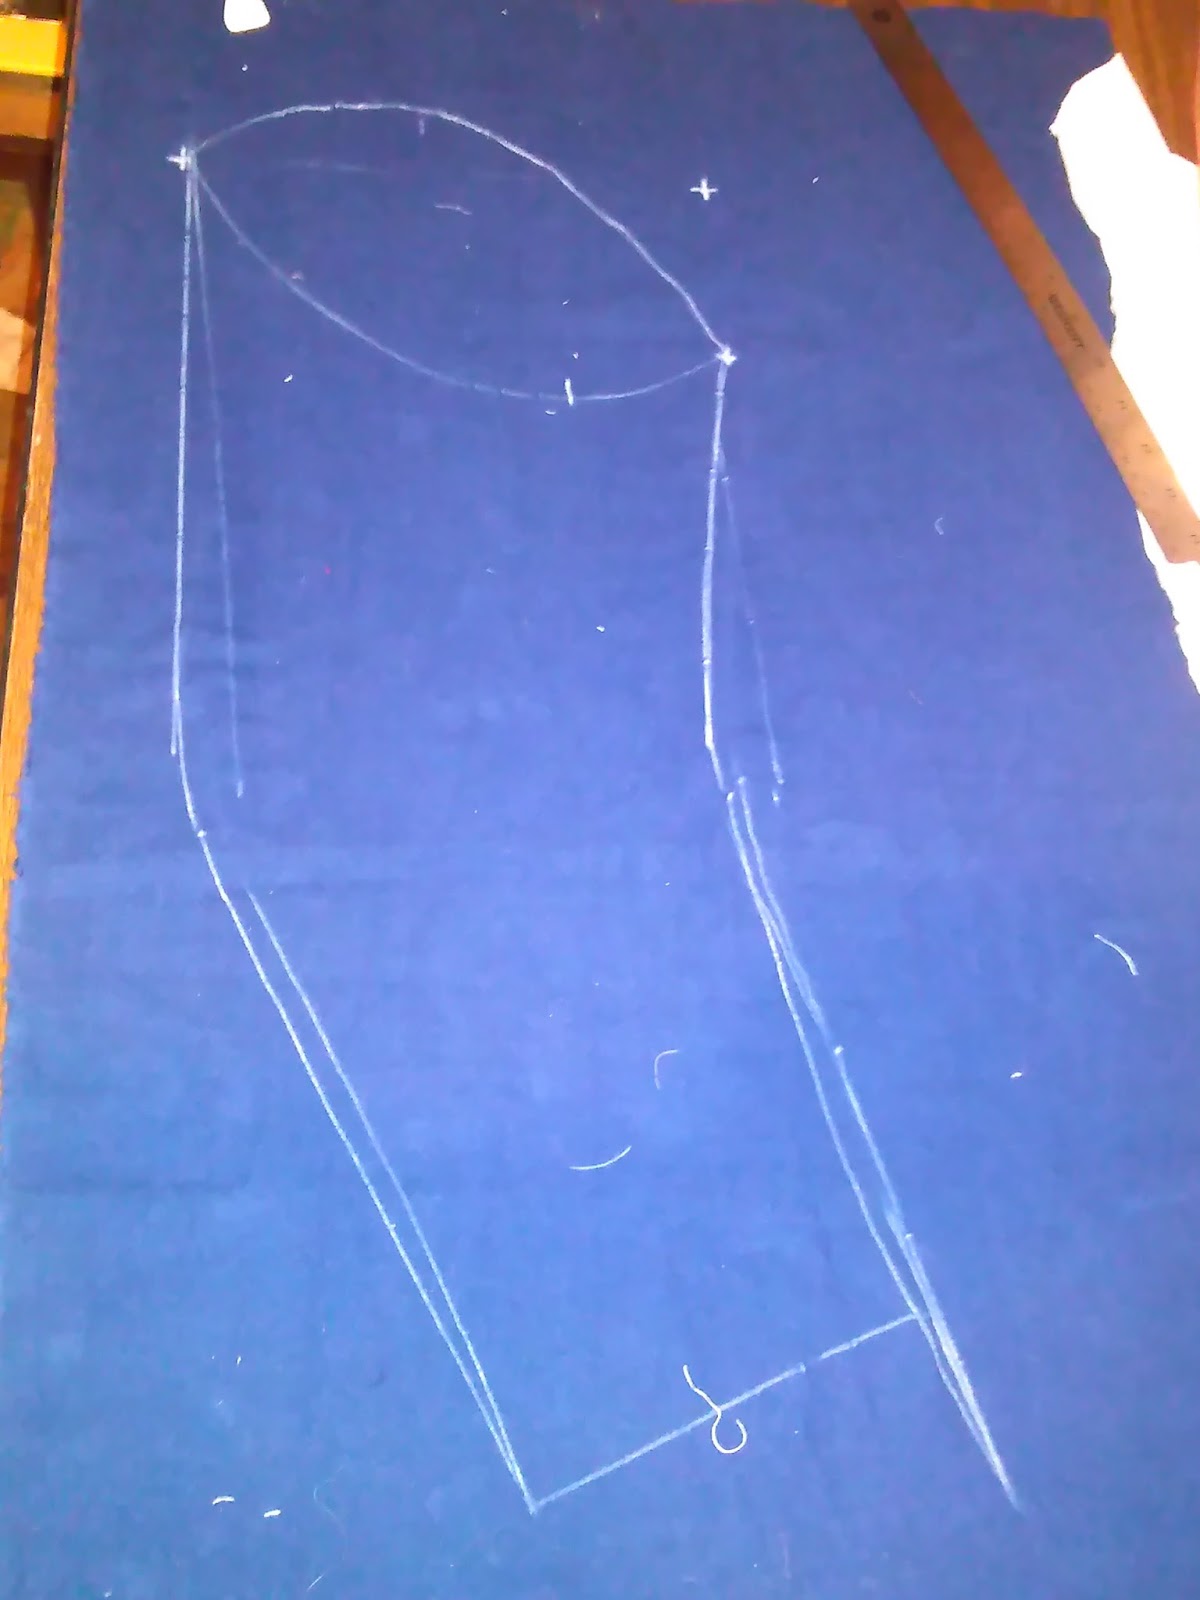
| Taken this very morning, in fact, as I double checked the sleeve fit. |
Showing posts with label Pattern Drafting. Show all posts
Showing posts with label Pattern Drafting. Show all posts
Tuesday, April 30, 2019
A Jacket for Cycling, A Project Journal for April
A couple of weeks ago, at around 10pm, I got a wild hair to start on a new project...I could feel cold and wet in the air (we got 4-5 inches of wet snow that night), so I had a rain jacket on the brain. Again. I do every time it rains, go look at commercial examples and discard them because they don't meet my standards of fit and durability--as well as invariably having hoods, which I detest wearing.
So, I went out, found a few yards of medium brown bull denim, and off white wool in my stash--both of which were from the thrift store--and started drafting, first on paper. Just a rough sketch of the design idea and proportions.
Tuesday, April 3, 2018
Bad Penny Pluderhose: Drafting the Foundation Shorts (Again)
A couple of years ago, I made my last pair of pluderhose and wrote up a tutorial on drafting them throughout the various stages. When I revisited them with the plan to make another pair this year, I found that my most excellent instructions...didn't work. Partly because I didn't take one of my measurements correctly, but my old instructions are also clunky. Especially in the section regarding some rather esoteric and personal measurements.
The garment itself is somewhat complicated, and I am sure has been the cause of many grey hairs in re-enactors--partially because there are no patterns or instructions for them online. Well...there is one, but it is not remotely period as it seems to be based on modern pajama pants). Reconstructing History also sells a pattern, which I have no experience with, and no desire to--I don't need help going mad. So, when I went to draft out a new pluderhose foundation pattern, and found that my old instructions had issues, I realized I would have to mostly rewrite it. As before, this pattern is based on the pairs worn by Nils and Erik Sture (mostly Nils, because I believe Erik's pair of foundation breeches got stretched with wear).
This tutorial series for the pluderhose consists of four parts; the base breeches/foundation shorts; panes and lining; codpiece; and assembly. In the example pairs, the foundation breeches were made of a fine leather, similar to chamois or a soft deerskin--previously I used a heavy cotton (cotton drill), this time I have deerskin splits to use (which should be attributed to my madness, because it will be a pain. Spend the extra money, and don't use splits if you decide on leather, since they are uneven in thickness). Depending on the particular style, the foundation breeches can be around knee length (and sewn to the legband at the bottom) as in Nils', or free at the bottom and a bit shorter as I believe Erik's was.
 |
| Foundation shorts of Nils Sture's pluderhose, 1568. Patterns of Fashion 3, by Janet Arnold |
Tuesday, March 7, 2017
Fly-by-night Lancer's Tunic: Drafting
My latest harebrained scheme--a steampunk jacket in the form of a late Victorian Lancer's Tunic. Now, there isn't much of a difference from drafting a body coat of the same system, but there are some. Therefore, I decided to throw together a rough tutorial (images probably won't be the best) of the cutting system.
 As mentioned, the tutorial is somewhat rough, and missing a few steps for the pictures--apologies for that. But since the project is now finished, I decided I should probably publish what I have.
The system is roughly the same as that for my Frock Coat drafting tutorial--same author and company, but for military tunics. I do recommend reading the Frock Coat Tutorial first, before continuing.--just for clarity.

The system is roughly the same as that for my Frock Coat drafting tutorial--same author and company, but for military tunics. I do recommend reading the Frock Coat Tutorial first, before continuing.--just for clarity.
Thursday, October 20, 2016
A Robe for Reading: 1760s Banyan. I suppose I need sleeves, don't I?
And it's time for Part Two of Three on the making of my Banyan, based on an example from the 1760s in the Los Angeles County Museum of Art. As you might guess by the title, the majority of this post is on drafting the sleeves--the cuffs and collar are both quite simple.
For a recap, this particular garment is based on the one the LACMA provided a lovely pattern and information on. However, while they provided a pattern, they do not tell you how to draft the garment so it fits you (their scaling grid is also terrible).
 The way I do sleeves is fairly simple; essentially you take the measurements of the armscye, and transfer those to your sleevehead. However, a word of warning that some parts of sleeve drafting--the hang of the arm in particular--are rather complicated, and something you will have to learn on your own (until I get good enough that I can explain it); when it comes to the lateral rotation (as swinging your arms normally) you want the top and bottom of the sleevehead to be in line with the natural hang of your arm. As such, it may not hurt to mark the low point while the body is on your victim as well.
For a recap, this particular garment is based on the one the LACMA provided a lovely pattern and information on. However, while they provided a pattern, they do not tell you how to draft the garment so it fits you (their scaling grid is also terrible).
Monday, September 26, 2016
A Robe for Reading: Drafting Mid 18th Century Banyan, Part I
For some time now, I have been planning to make a banyan from a grosgrain brocade woven of dead dinosaur (i.e. synthetics, if you aren't familiar with the euphemism) I have had in my stash for years. Not the loose, kimono style of banyan, but the variety more closely related to the contemporary frock coat. I love those things.

Thursday, June 16, 2016
Pluderhose: Putting it all Together
Things have gotten a bit wonky, since drafting the poofs is part of this post, but that is getting done before I have drafted the codpiece (which is done after the majority of construction is finished).


Revenge of the Pluderhose: the Codpiece of DOOOM!
Wednesday, April 20, 2016
Revenge of the Pluderhose: The Panes of Torment
I'm kinda seeing a trend in how I feel about the garment, here *looks pointedly at the title*.
This, the second of the series of posts on the making of /period/ pluderhose, deals with the panes and lining....originally, I was going to include the codpiece in this post, but I suspect that it wouldn't be a bad idea for it to get its own post. I will not (yet) be showing how to do the lining--that is, the poofs; that particular set of images will wait until I actually begin construction of the garment--they are not exactly complicated, and use a lot of fabric.
Now, if you are reading this, I hope you've been following along and already have drafted the foundation breeches from PART I. If you have not, you should go there and make them forthwith, because you build the panes from the foundation breech pattern you've already fitted. Strictly speaking, the foundation breeches aren't 100% necessary--the Svante Sture pair doesn't seem to have them, and longer pairs may not have them; so if you are doing without, you will more or less follow the directions there, ignoring the taper of the legs.
If you are doing this correctly (ish, being as there is no true way) there is little shaping of the panes, and what there is follows the foundation breeches; what this means, is that we will be cutting from the panes to give some of the shapes.. However, the pane length is at least 15% more than that of the foundation breeches--I made them closer to 30%--, to allow the draping. Like the foundation breeches, I am basing it on Erik and Nils Sture's pluderhose.
At some point before beginning, you should decide how many panes you desire--I have seen examples that (appear to) have anywhere from Four to Seven. Five appears to be the most popular number, however. More panes would, of course, require more fabric in the lining since you will have more sections .
 |
| Seven Panes! |
 |
Lucas Cranach the younger, 1563. Four Panes |
 |
| Brunswick Man. 1573. Five panes. |
Thursday, March 31, 2016
Bibliography of Historical Tailoring and Cutting Manuals
To the best of my knowledge, there is no place online that gathers the various--freely available--Victorian and earlier cutting systems. Professional tailors--and cutters, which is a separate job, often in the same shop--use cutting systems rather than actual patterns. The main difference, of course is in fit and style--a pattern may come graded to a number of sizes, but these are still ideal and won't necessarily fit; cutting systems, on the other hand, use scales and mathematics to give proportions and how to draft for the body of the customer. They typically also have notes on modifying the draft for varying postures and such. The majority of the systems were for menswear, and that is my focus--however, there were variations for tailored ladies' clothing as well, and I will include those that I find.
 |
| From E. Dilday's Plain and Concise Method of Garment Cutting, 1856 |
Friday, January 29, 2016
Revenge of the Pluderhose; the Madness Returns
UPDATE 3-19-18: I am currently reworking this drafting system to streamline and make it a bit simpler to measure. While I was going to just edit this one, I will have to take all new photos as well, so I will work on publishing a fresh version (which will be linked here). I did change a few things before I made this decision, so if this makes less sense than you might think, then it's my bad.
This is the first of an intended series of posts on drafting and making up a suit of German (or Swedish) Renaissance men's clothing. Later in the century, that is--Elizabethan era, not Lansknecht--although the patterning could be used for that as well. Last time I wrote on this, it was part of a mad frenzy of sewing the Svante Sture suite
The garment is somewhat complicated, and I am sure has been the cause of many grey hairs in reenactors--partially because there are no patterns or instructions for them online (ok, there is one, but it is not remotely period--it seems to be based on pajama pants). Reconstructing history also sells a pattern, which I have no experience with, and no desire to. So, when I (for some unknown, warped, reason) decided I wanted to make another suit, I figured it would be a good thing to show how I draft a pair, since last time I made them I didn't have the blog. Plus, the last pair didn't have the foundation breeches. This pattern is based on the pairs worn by Nils and Erik Sture (mostly Nils, because Erik's pair of foundation breeches is stretched in a way that happens with the sewing. You'll see).
I figure it will take around three parts--one each for the foundation breeches and the shell, and one on making them up. The foundation breeches were made of a fine leather, similar to chamois or a soft deerskin--sadly this isn't an option for me, and I will likely use a heavy cotton (either canvas or ticking). Depending on the particular style, the foundation breeches can be full length (and sewn to the legband at the bottom), as in Nils or free at the bottom (as I believe Erik's was).
 |
| Arnold, Janet. Patterns of Fashion 3. Pp. 64 |
Friday, May 1, 2015
1370s Blue Cottehardie. HSM: April - War and Peace.
The Project:
This
project is a men’s cotehardie, from the 1370s.
I wanted a garment which would work equally well for outdoors (“hunting”)
and for less formal functions—not court clothing, but certainly not low class,
either. It is somewhat more modest in
length than the average for that time—however, as you can see in the German
Effigy, not everyone wore garments which showed off the majority of your legs.
Base
Sources:
I based the garment on several illustrations from the period. A couple illuminations of soldiers (or one soldier), and a German effigy. I don’t believe there actually are any finds of this kind of garment, beyond the Charles du Bloise pourpoint[i] (which is a silk gold brocade).
I based the garment on several illustrations from the period. A couple illuminations of soldiers (or one soldier), and a German effigy. I don’t believe there actually are any finds of this kind of garment, beyond the Charles du Bloise pourpoint[i] (which is a silk gold brocade).
%2BFolio%2B122R.jpg) | ||||||
| BNF Nouvelle acquisition française 15939 Miroir Historial (Vol 1) Folio 122r |
Saturday, March 21, 2015
Drafting Patterns from Extant Garments
Ever
wondered how to take those line drawings of an extant garment—like those
Medieval Garments Reconstructed, Marc Carlson’s database, or Patterns of
Fashion--, and make it fit you, while remaining as true to the original garment
as possible? Or better, photographs of the garment itself and figure what shape
the pieces are?
This is the method I used for most of my major projects; The Sture Suit, G63, and most notably my Moselund Kirtle, as well as a number of projects which are planned but not constructed.
This is the method I used for most of my major projects; The Sture Suit, G63, and most notably my Moselund Kirtle, as well as a number of projects which are planned but not constructed.
A point on terminology for reconstructing garments (this is what I use): A museum replica is a piece made entirely with the correct technology, to be as close to identical to the extant piece when new (as possibly). A working replica (what this class is geared towards making) is patterned from, and maintains the proportions of the extant as much as possible while having it fit you, as well as construction and definition; however, the fabric might not be spun/woven to order. "Inspired by" I do not consider to be reconstructing a garment--you may be making a perfectly good, period piece, but the goal isn't to get as close to a specific extant garment as possible.
Tuesday, May 6, 2014
Drafting a Frock Coat, Part I: The Body (and Skirts)


Monday, May 5, 2014
Norlund 78, or D10606 Hood: part 2...Mockup
Warning: Contains far too many numbers. Continued from Part One
With the rough pattern figured out, it was time to draft out the full scale mockup. I decided that the best way to do so was to start with a straight base line, to the left of what would become the pattern, measure to the right from that, and essentially connect the dots.
 |
| Edited to add, at 11:33 5-5-14 |
The process was to draw a straight line, 405.9mm long (the height of the hood, plus the extra little bit for the "horn").
320mm from the top, I made a mark 15mm from the line--this is the chin, where it slanted in slightly. Another 95mm in, beyond the chin, another mark was made, and the two points get connected (as does the front opening of the hood).
Going back to your baseline, at the bottom I marked in by 45mm, and connected slantwise to the mark above.
Subscribe to:
Comments (Atom)